At last a new update, I'm migrating my blog to more like a gallery blog.
I rarely can blogging nowadays that's why I'm thinking to make a gallery blog for my work.
If there will be a free time in near future this blog will be just a personal blog.
Please visit my new blog thank you.
http://maftyworkshop.blogspot.com/

Wednesday, February 4, 2015
Wednesday, July 11, 2012


[Academy] 1:72 F-84G Thunderjet WIP
First time doing military aircraft, with a help from my friend to choose which one should I pick for the first kit, the choice was this. Academy F-84E/G Thunderjet. Actually when still at Junior High School, I'm very fond of military vehicle (tank, aircraft, ship, etc). I played a lot of war games (from PTO, CnC, Naval Warfare, etc).
I choose this kit because:

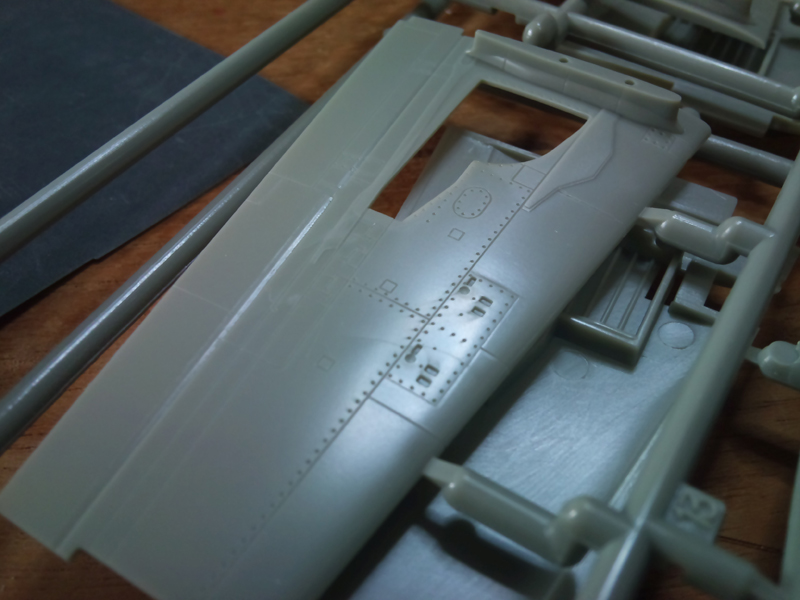
as we can see in the pic,
1. Fully engraved panel lines & rivet details (rivet details is a must for military plane to look more realistic)
2. Highly detailed cockpit interior & landing gear bay

Inside the box:
4 runner for the plane, 1 clear runner for cockpit, 1 runner for stand base which I didn't use. and 1 sheet of water decal.

we can see the rivet detail and the panel lines here
The tools that I used for early snap fit:
Modeller nipper, Scissor, Masking tape, Tamiya cement extra thin, Tweezer, Modeller knife, sand paper, and also super glue (don't forget about ballast, I use ballast for fishing)

Cockpit fitting trial, seems ok for me. The difference between building a gunpla and airplane model kit is we should check it first if it's snap or not, also we must do the cockpit first, interior before assembly the fuselage. The main reason for this because we need to glue them. While in gunpla we can disassemble the kit to paint them part by part.

Start to painting the cockpit, I used Mr Color for this. I airbrushed the cockpit and the seat using Olive darb for seat, Cockpit color for the cockpit, and flat black for the panel. Hand painted the panel detail using Tamiya enamel Red and White.

Fitting test, don't forget to paint the inner part too (inner landing gear, after burner, etc), also don't forget to cement them and leave until they dry.

looks fine..


Dun't forget to mask them when painting the body, the hardest part of building aircraft is masking :(
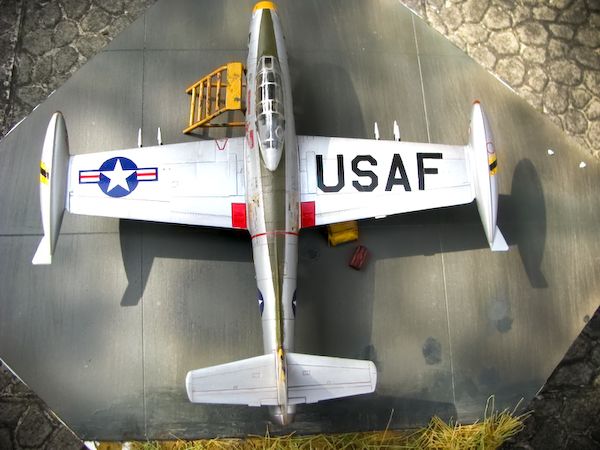
also little drilling in the progress. Painted the wings using Mr Color Bright Silver and Sandy yellow

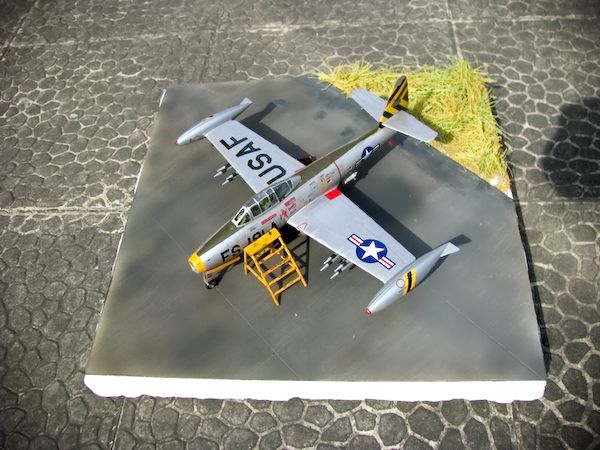
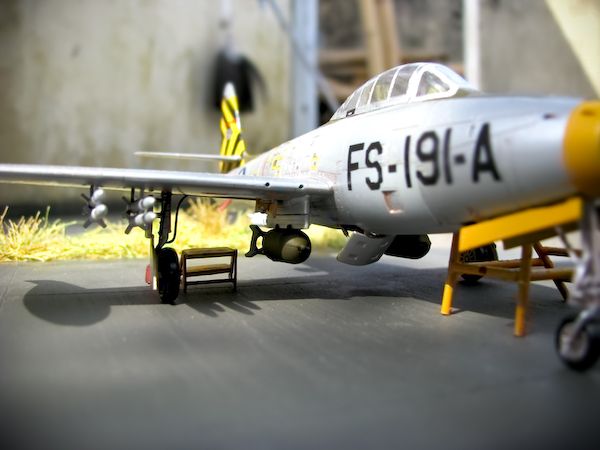
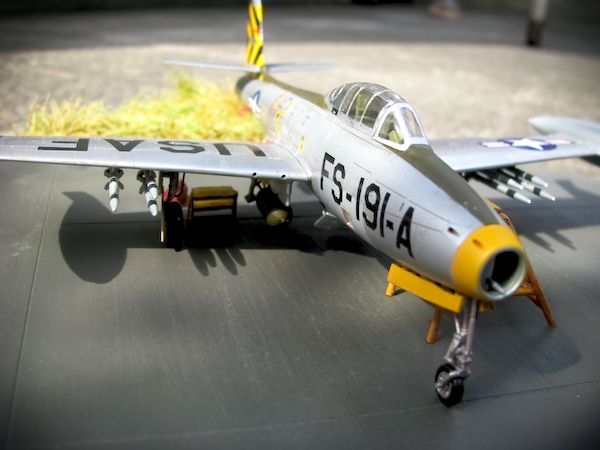
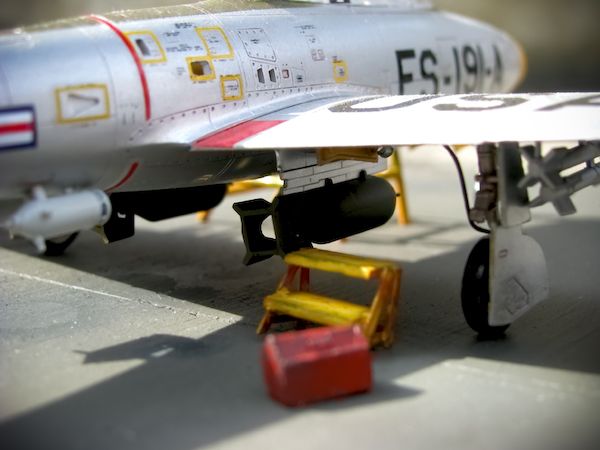
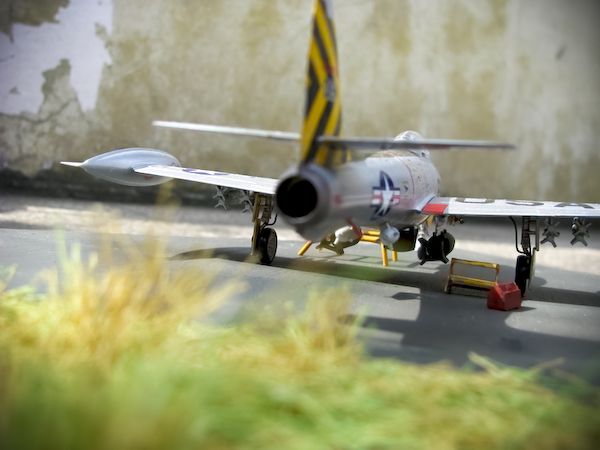
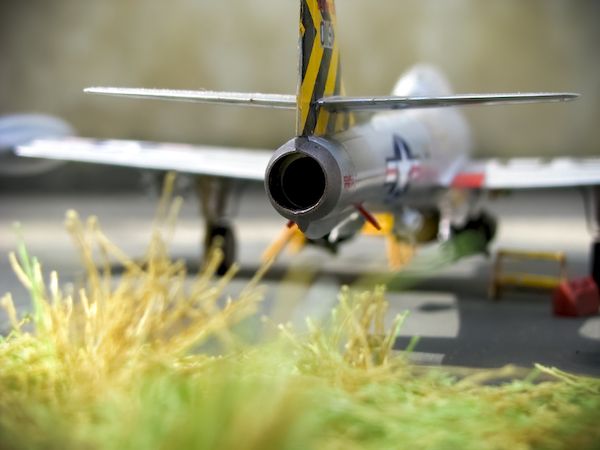
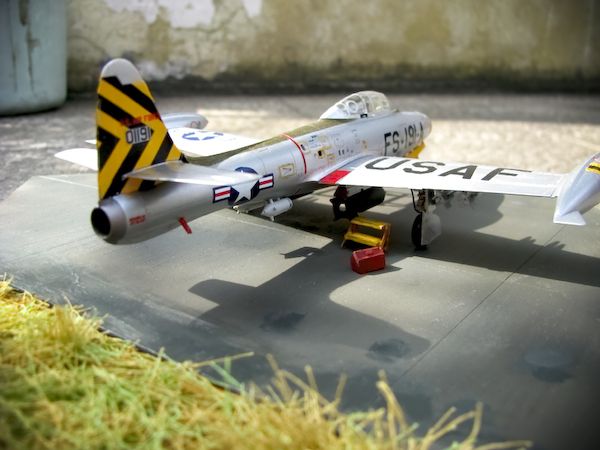
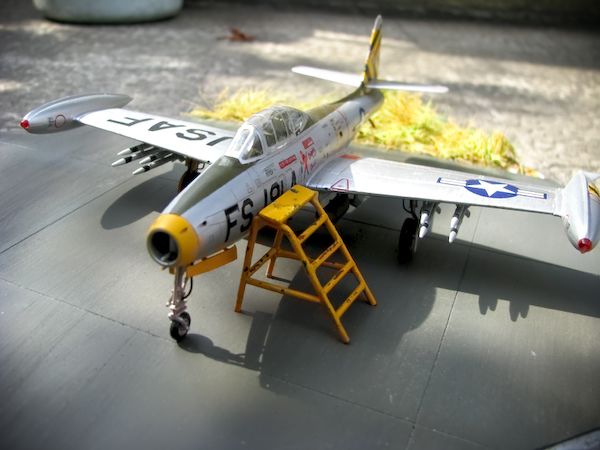
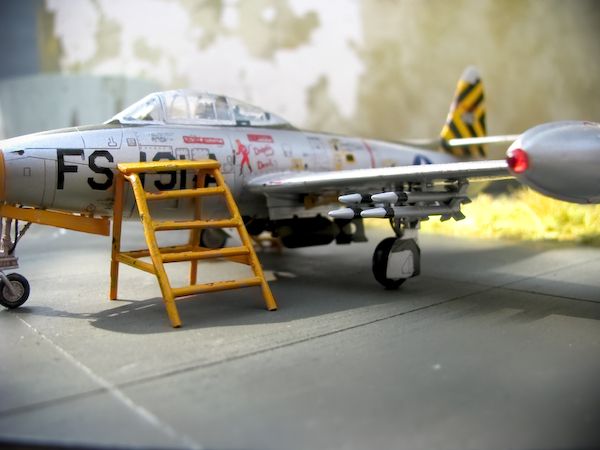
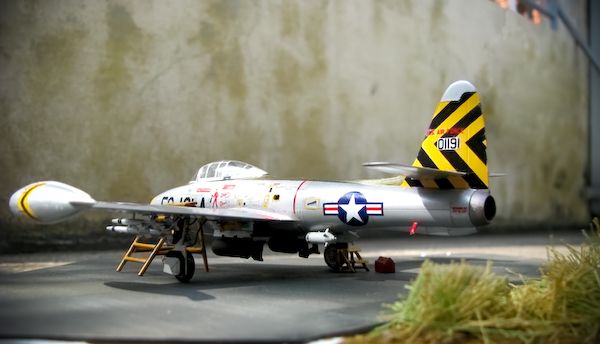
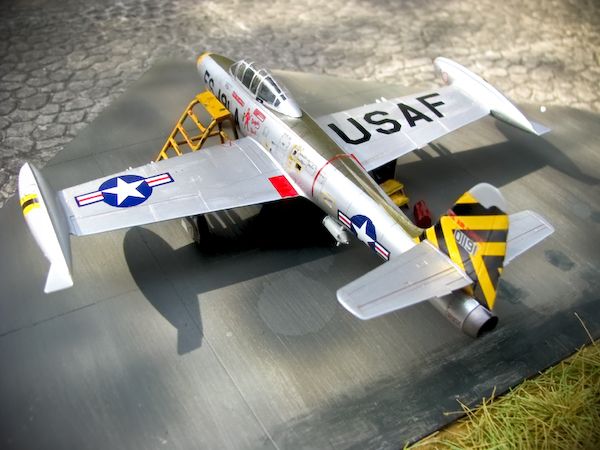
Mr Color Orange yellow for nose, Bright silver for the body and Olive darb for the upper body. Adding some cable for detailing at the landing gear.
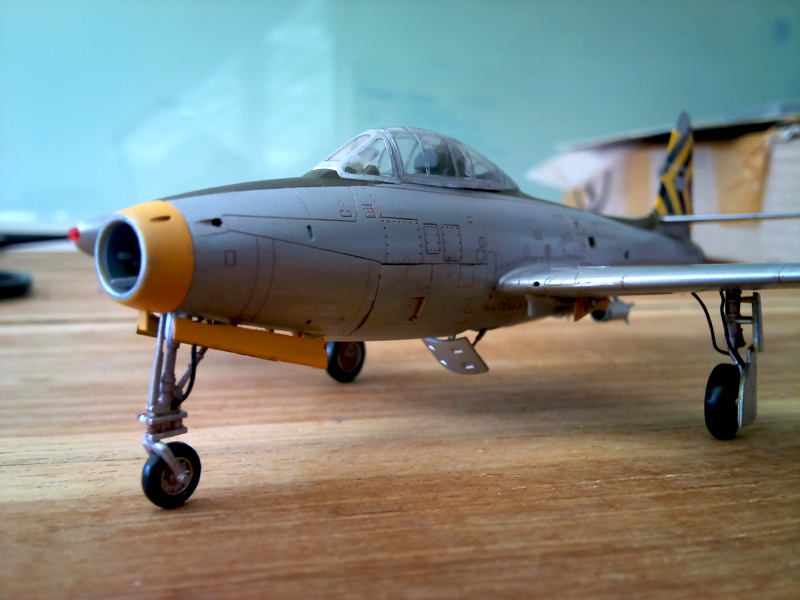
And at last my first military kit is finished.. Will post more about the photo in the next post.
Wednesday, June 27, 2012
[CubicFun] 3D Puzzle: Tiananmen
Supposedly I'm doing this because of curiosity. Wonder if this thing will look good if it become a background photos, but unfortunately I guess it's fun to build this kind of thing once, and hence I became addicted to it :(
Here it is.. my first 3D puzzles from CubicFun, World Famous Architect series: Tiananmen.
I pick Tiananmen because I like Forbidden City setup. Tiananmen is the first front gate of the Imperial city which the Forbidden city located, also called The Gate of Heavenly Peace. Chinese is very good at city setup, which this is one of the special case. Forbidden city consist of a lot of wonderful place, and this gate, is one of the famous gate. I already visited it once and it's truly wonderful :)
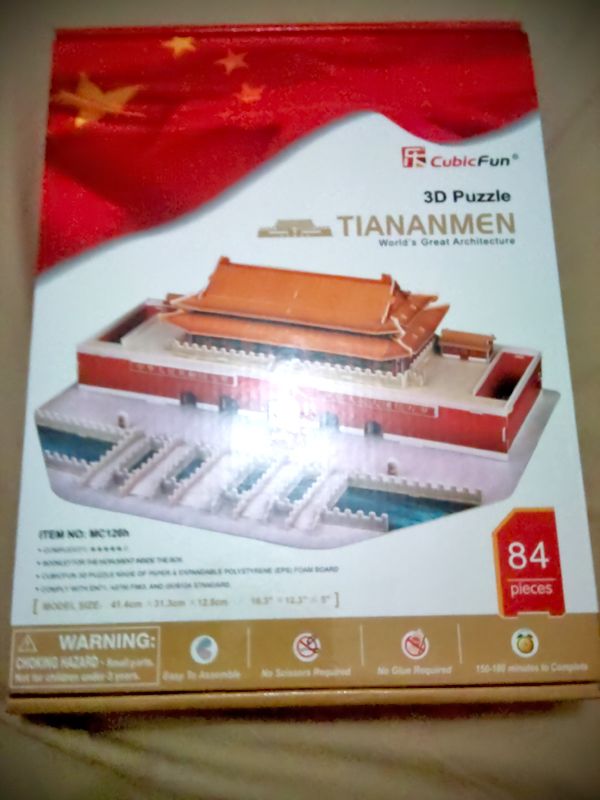
The box, we love to open box do we?
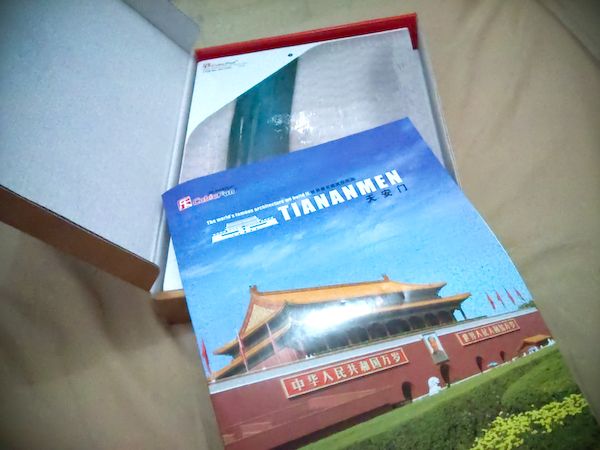
Aha! A manual book :)
let's shall take a look..
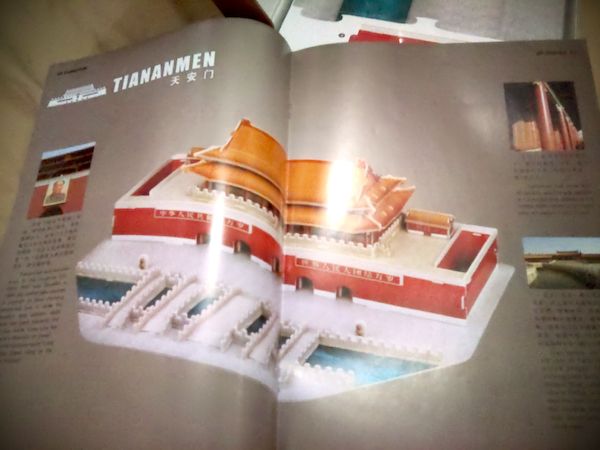
A little description about Tiananmen and the inside, a little bit history too.. Awesome indeed :)
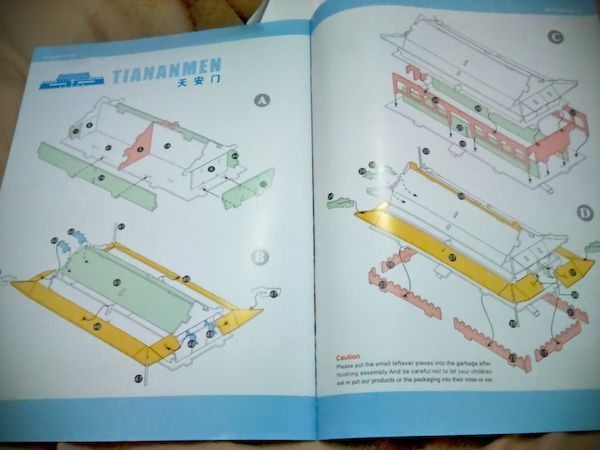
Instruction pages, quite good with numbering, but we should careful which part we should make first, and really careful to push or attach the part (it's not like plamo :P)
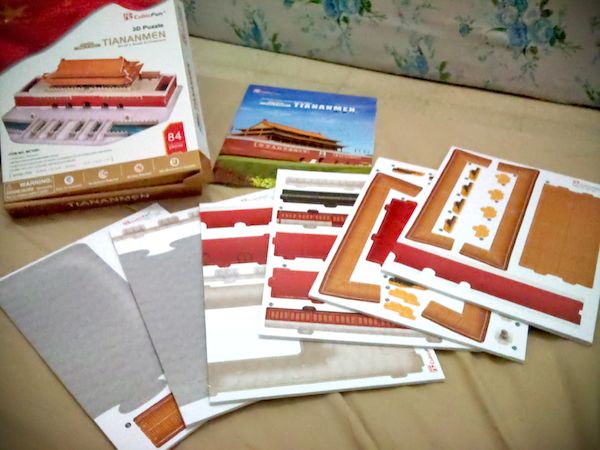
some of the parts, a lot actually :) Really having fun when assembling this building.
Ta-daaa~ Here it is: Tiananmen
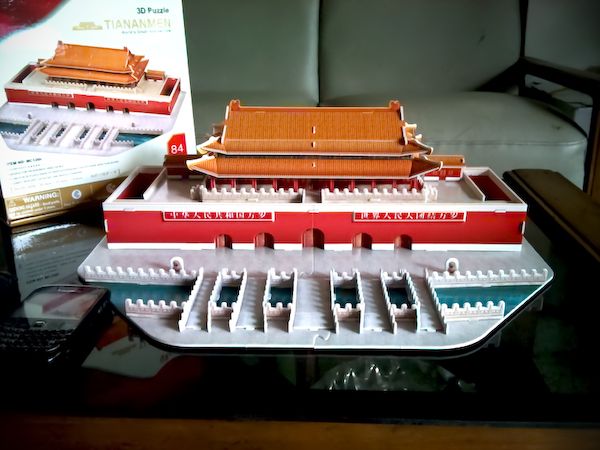
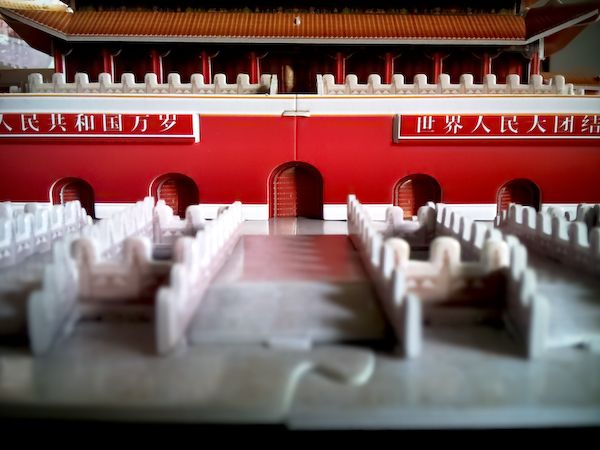

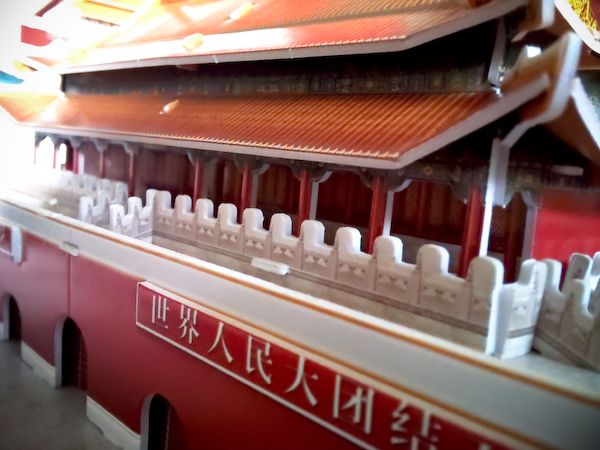
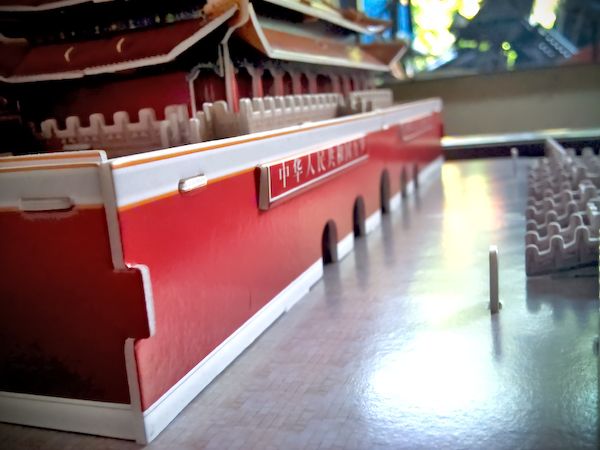
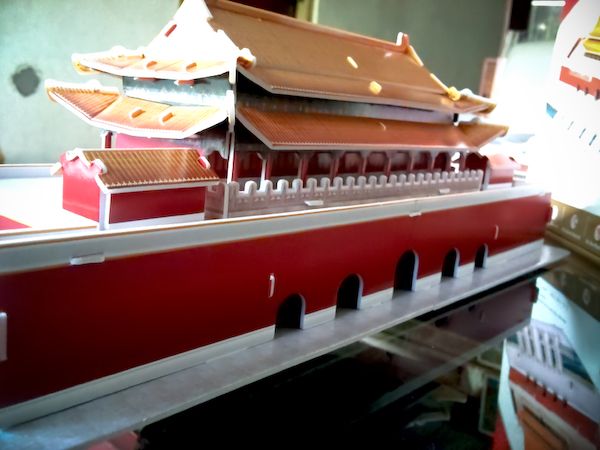
Quite big actually, okayyy I'm satisfied with the result, I'm going for Hall of Supreme Harmony and Temple of Heaven next.. :)
Tuesday, March 20, 2012
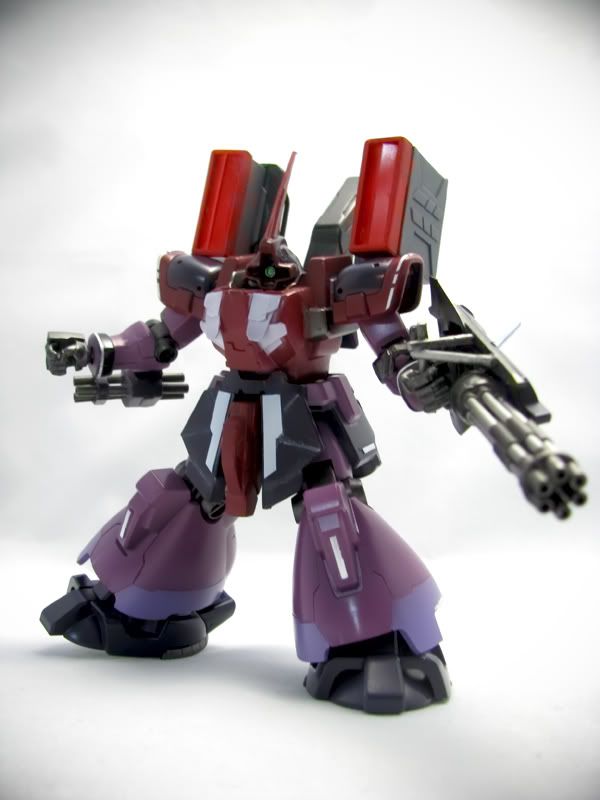
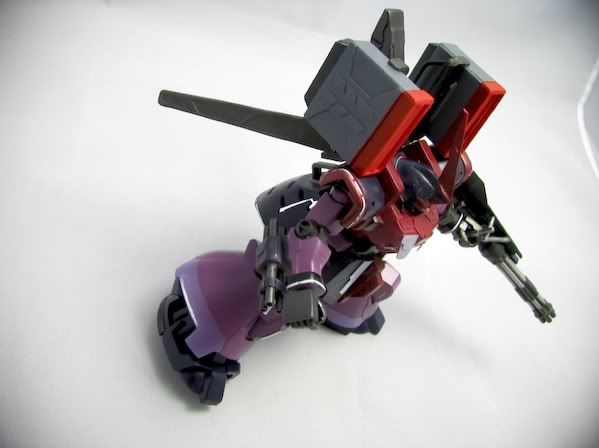
MS-09FA Knightmare Dom
Third kit finished
Again messed up, this time it's the Scratch-Build, try to do a major modification but too lazy to sand it..
actually improved at masking and a bit at airbrushing.
Again messed up, this time it's the Scratch-Build, try to do a major modification but too lazy to sand it..
actually improved at masking and a bit at airbrushing.
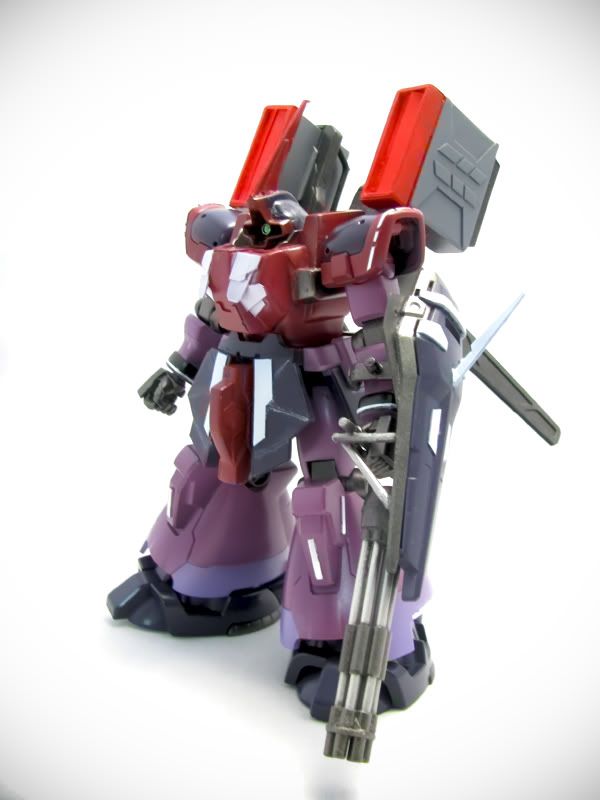
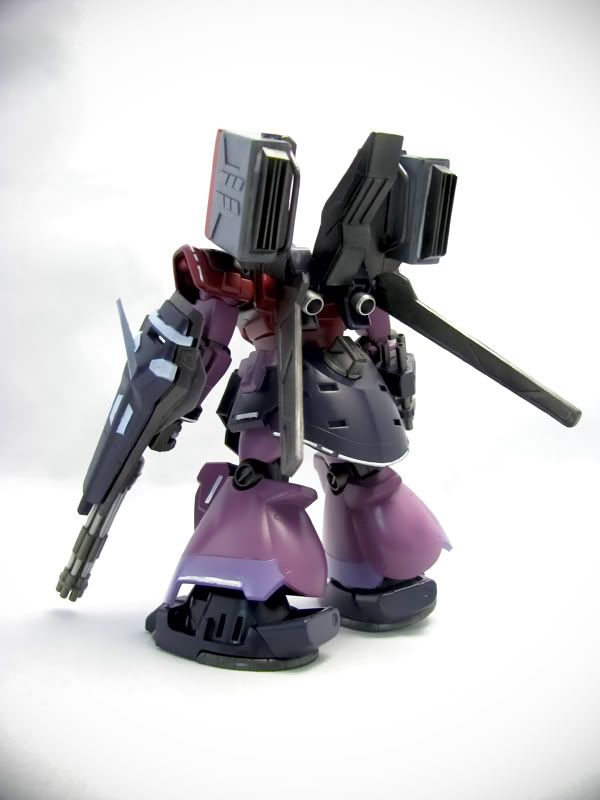
Name: MS-09FA Knightmare Dom
Type: mobile suit for commander use
Modeler: MaftyNavue
Weapons:
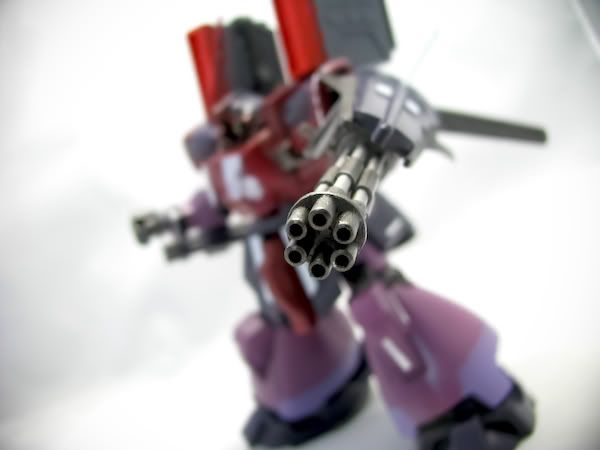
1 x Beam Gatling
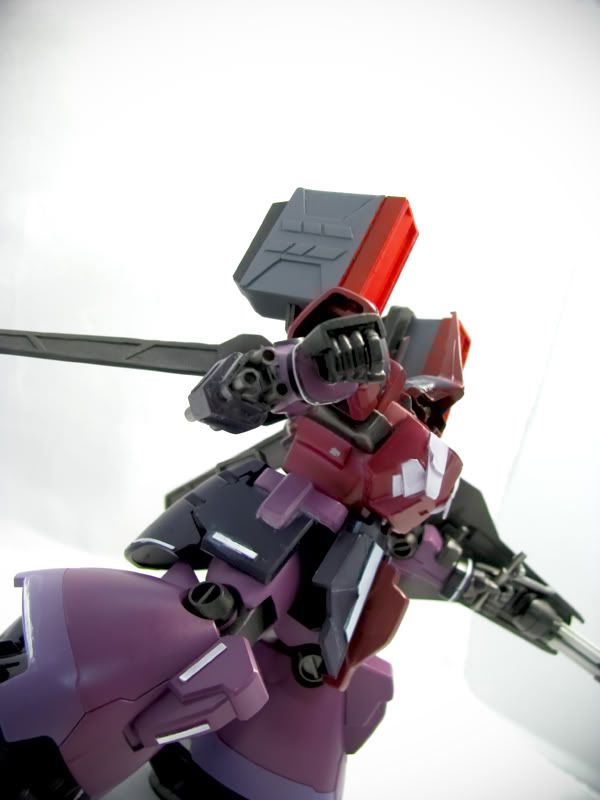
1 x Tri-Gun Autocannon
2 x 6 "Egret" missile pods
Description:
After Zeon defeat at One Year War, lot of the remnants still loyal to Zeon put a fight with the Federation. A small group of Zeon remnants at Sahara Desert heavily modded Zeon's Dom Tropen for commanding use. Because of Dom Tropen characteristic at mid range combat they made a modified version of semi-long range combat for commander. Because commander need a good situation at the war front.
A beam gatling attached to luminous anti-beam coating shield for additional power and defense. Also a "Tri-Gun" autocannon added at the right arm for extra power. Added 2 tail stabilizer and 2 multipurpose missile pod and booster pack for maneuverability and agility.

comments and critics are welcomed..
well next project: "back to basic"
Weapons:
1 x Beam Gatling
1 x Tri-Gun Autocannon
2 x 6 "Egret" missile pods
Description:
After Zeon defeat at One Year War, lot of the remnants still loyal to Zeon put a fight with the Federation. A small group of Zeon remnants at Sahara Desert heavily modded Zeon's Dom Tropen for commanding use. Because of Dom Tropen characteristic at mid range combat they made a modified version of semi-long range combat for commander. Because commander need a good situation at the war front.
A beam gatling attached to luminous anti-beam coating shield for additional power and defense. Also a "Tri-Gun" autocannon added at the right arm for extra power. Added 2 tail stabilizer and 2 multipurpose missile pod and booster pack for maneuverability and agility.
comments and critics are welcomed..
well next project: "back to basic"
Saturday, January 21, 2012
Gundam Wallpaper - UC Series #1 ~ Amuro Ray Emblems
Well, someday after work, I surfed at some blog and find an amazing artwork. That artwork really take a hook on me. Very simple design and color but yet really detailed.
check it out his work at http://adamcbeamish.com/category/blog. Awesome indeed.
So, I'm inspired to make something that similar with it, but this time it's a gundam-themed ones..
I remembered that I used to like to make wallpapers from gundam or something that I like.
so here it is, another wallpaper that I made. I picked Amuro Ray Insignia because he's the first of the gundam pilots.
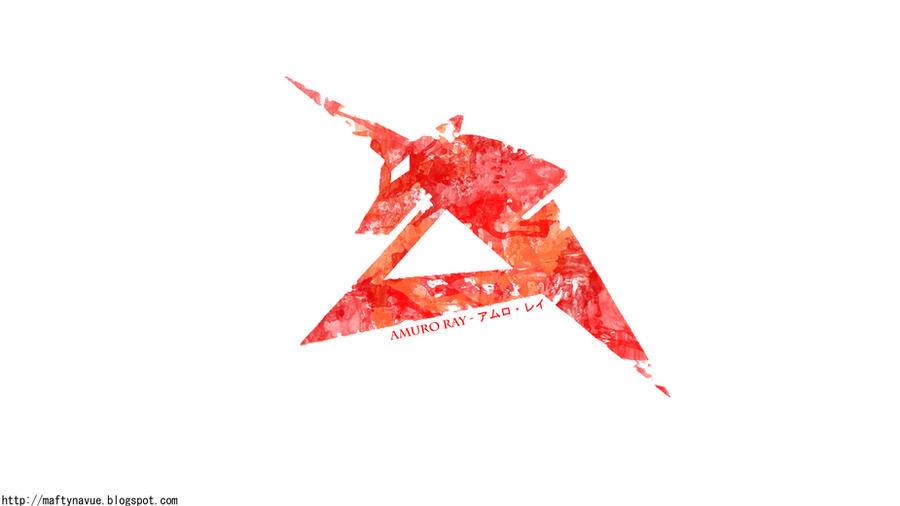
Feel free to grab it if you like :)
check it out his work at http://adamcbeamish.com/category/blog. Awesome indeed.
So, I'm inspired to make something that similar with it, but this time it's a gundam-themed ones..
I remembered that I used to like to make wallpapers from gundam or something that I like.
so here it is, another wallpaper that I made. I picked Amuro Ray Insignia because he's the first of the gundam pilots.
Thursday, January 12, 2012
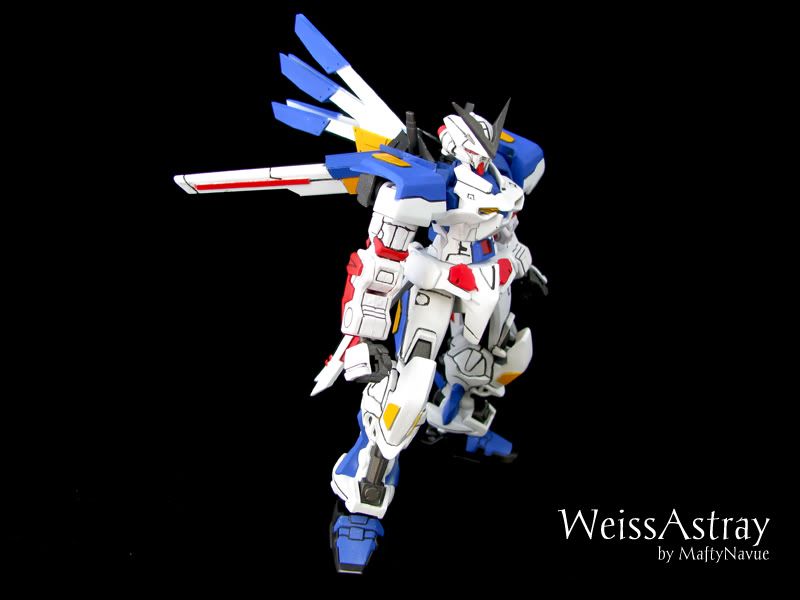
Revised: MBF-02S WEISSASTRAY
Second kit finished (hurray) :3
but I'm messed up at the finishing (especially using airbrush and lining), probably because I was too hasty when doing this. Well still, that is no excuse for this horrible job >.< (actually satisfied with the modification job, but did not satisfied with the paint job)
but I'm messed up at the finishing (especially using airbrush and lining), probably because I was too hasty when doing this. Well still, that is no excuse for this horrible job >.< (actually satisfied with the modification job, but did not satisfied with the paint job)
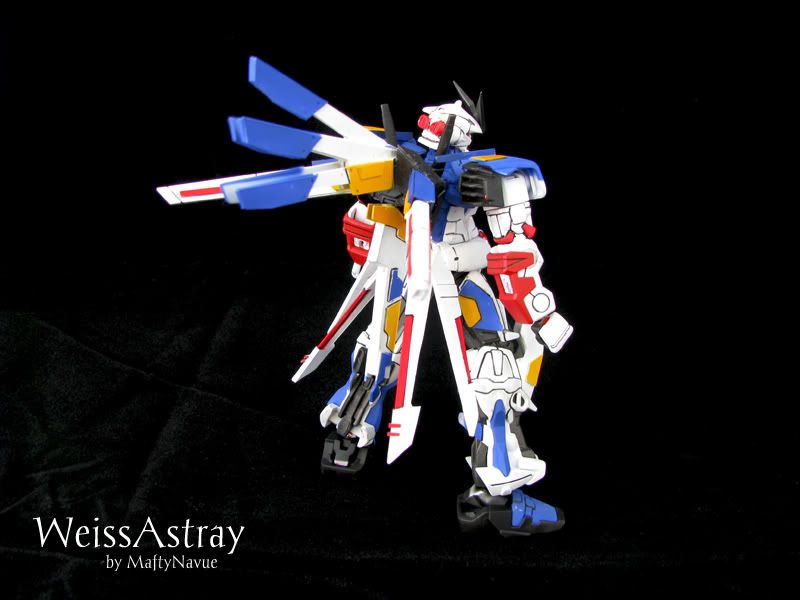
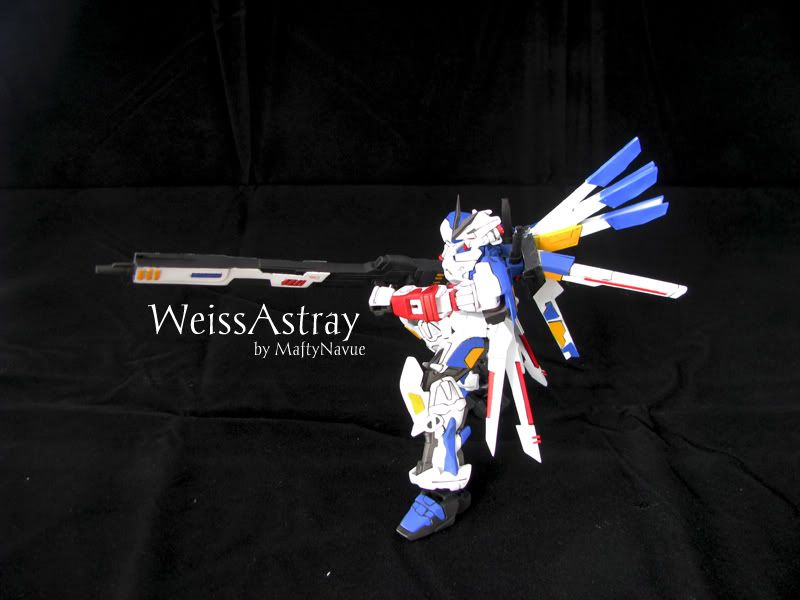
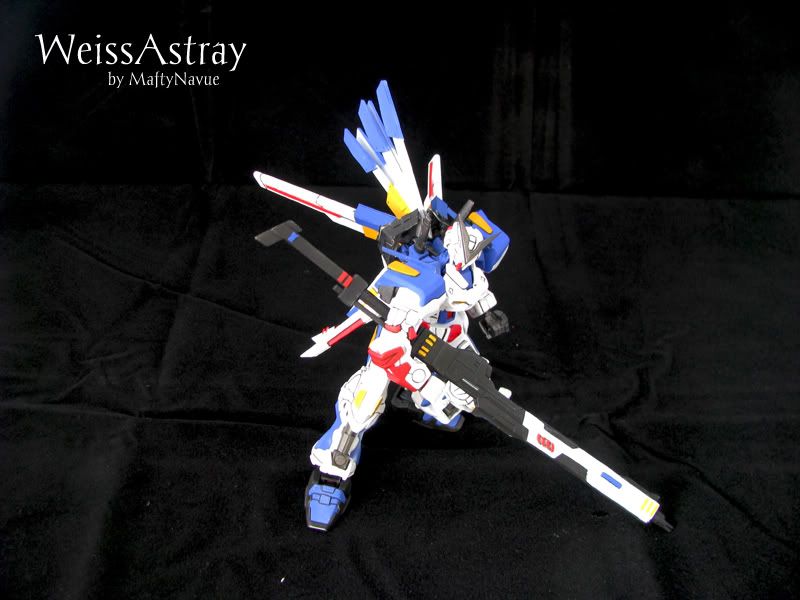
Name: MBF-02S WeissAstray
Type: prototype long range use support mobile suit
Modeler: MaftyNavue
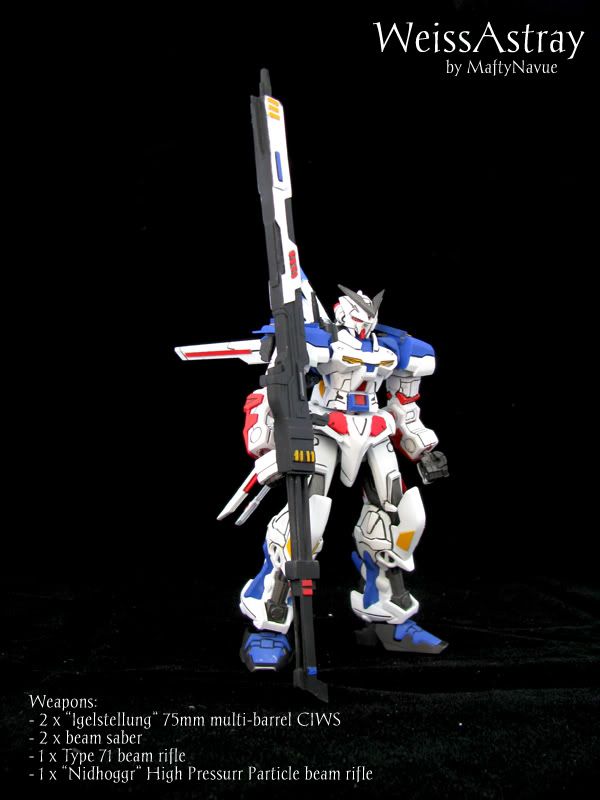
Weapons:
2 x "Igelstellung" 75mm multi-barrel CIWS (fire-linked)
2 x beam saber
1 x Type 71 beam rifle
1 x "Nidhoggr" High Presure Particle beam rifle
Description:
To defend their country from either Earth Federation or ZAFT, Orb need more firepower despite it's small sized country and it's location is an island making it vulnerable to be attacked from many position. Orb already has it's massive and strong Navy but their strategic leader think it's still need support from mainland to minimize enemy threat.
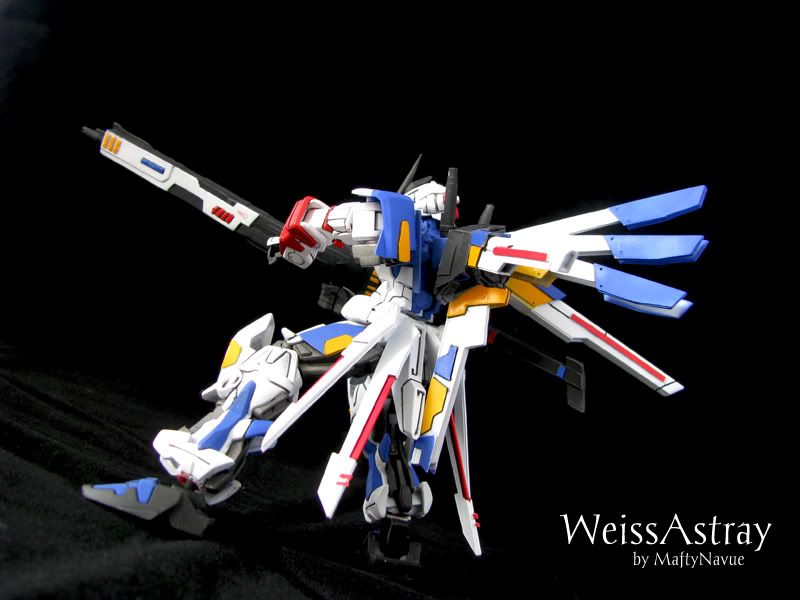
MBF-02S WeissAstray is what come of from one of the Orb engineer. Basically it's a long range supportive mobile suit capable to strike at long range even at atmosphere, thanks to "Nidhoggr" High Pressure Particle beam rifle. because it can pierce through the atmosphere, "Nidhoggr" also can penetrate enemy beam coating shield with ease. This with an additional boosters and stabilizers make WeissAstray a perfect unit to defend Orb nationality from sea and space entry mission.

comments and critics are welcomed :3
and thanks to Imoutou for the photo booth. It's really nice :)
Weapons:
2 x "Igelstellung" 75mm multi-barrel CIWS (fire-linked)
2 x beam saber
1 x Type 71 beam rifle
1 x "Nidhoggr" High Presure Particle beam rifle
Description:
To defend their country from either Earth Federation or ZAFT, Orb need more firepower despite it's small sized country and it's location is an island making it vulnerable to be attacked from many position. Orb already has it's massive and strong Navy but their strategic leader think it's still need support from mainland to minimize enemy threat.
MBF-02S WeissAstray is what come of from one of the Orb engineer. Basically it's a long range supportive mobile suit capable to strike at long range even at atmosphere, thanks to "Nidhoggr" High Pressure Particle beam rifle. because it can pierce through the atmosphere, "Nidhoggr" also can penetrate enemy beam coating shield with ease. This with an additional boosters and stabilizers make WeissAstray a perfect unit to defend Orb nationality from sea and space entry mission.
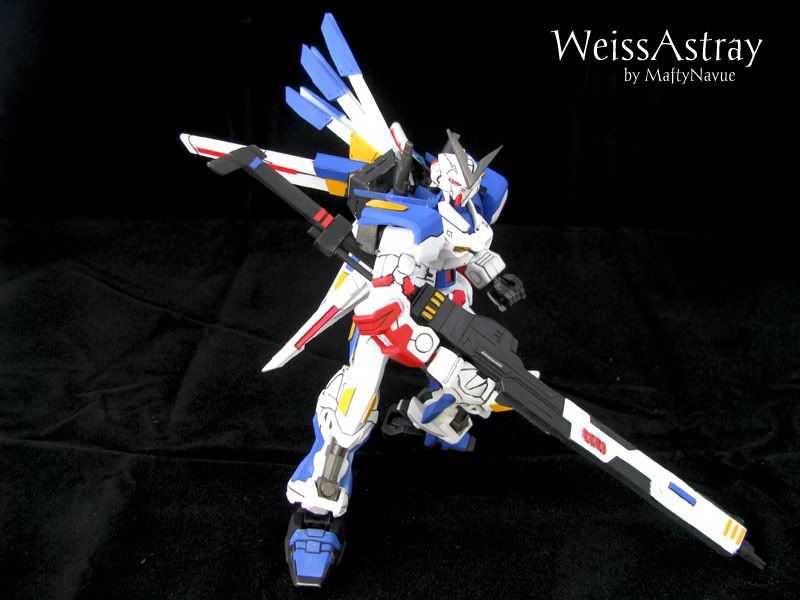
Type 71 Beam Rifle.
"Nidhoggr" High Pressure Particle Beam Rifle.
Atmospheric Sniping.
comments and critics are welcomed :3
and thanks to Imoutou for the photo booth. It's really nice :)
Subscribe to:
Posts (Atom)